The Cones of Calibration V3
Comprehensive Guide to Using the Cones of Calibration V3

Introduction
Understanding the Basics
- Exposure: This refers to the duration for which UV light is applied to the resin during printing. Proper exposure is essential to achieving prints that are dimensionally accurate and structurally sound. Overexposure causes the resin to cure more than necessary, leading to larger-than-expected dimensions and stronger, often brittle, connections. Underexposure, on the other hand, results in incomplete curing, making the print smaller than intended and the connections weaker.
- Dimensional Accuracy: This is the measure of how closely your final print matches the intended dimensions of the 3D model. Dimensional accuracy is affected by the exposure settings; overexposure results in larger dimensions, while underexposure results in smaller dimensions. Ensuring dimensional accuracy is crucial for parts that need to fit together or meet specific size requirements.
- Resin Variability: Different types of resin have varying properties, such as viscosity, curing time, and final hardness. These variations mean that a setting that works perfectly for one type of resin might not work as well for another. Always consider the specific properties of the resin you are using when calibrating your printer.
The Features of the Cones of Calibration V3
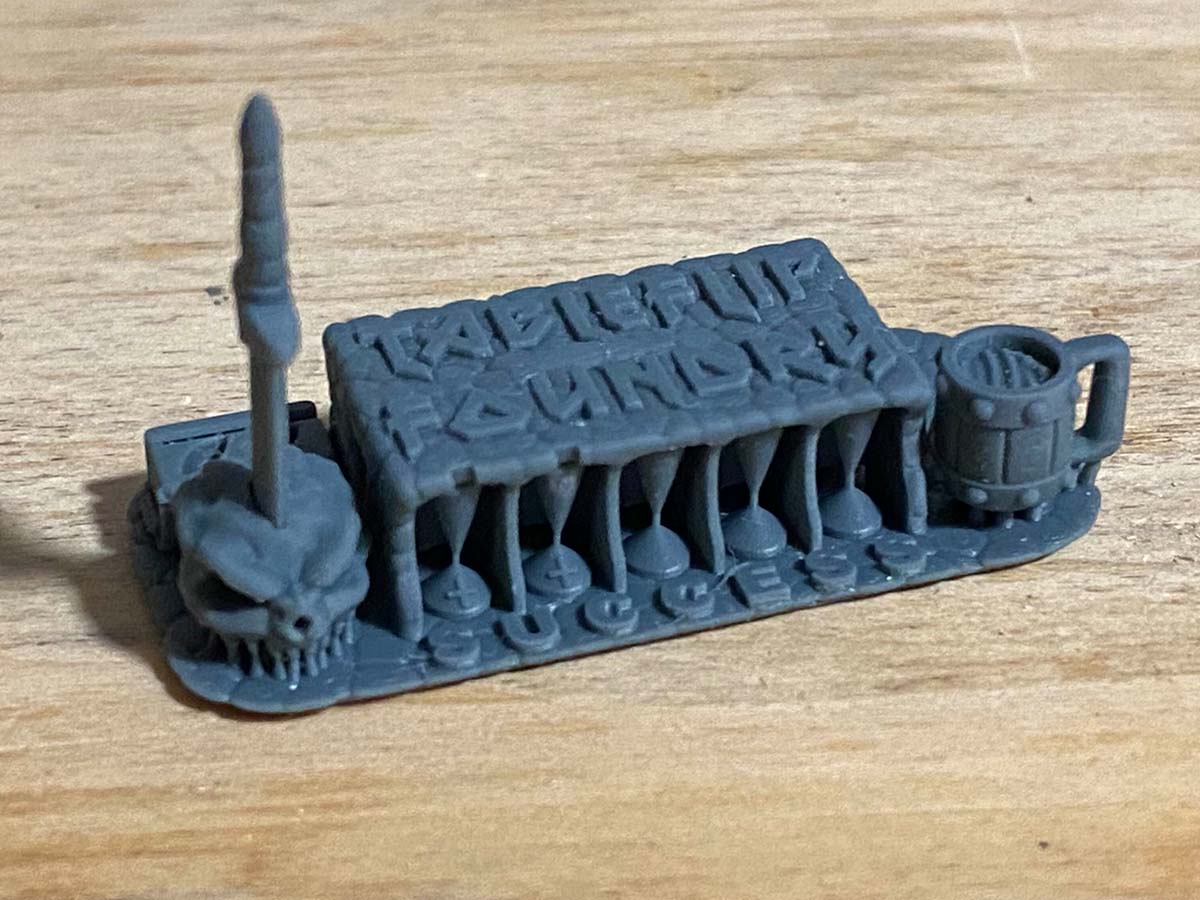
The Cones of Calibration V3 have been meticulously designed to test multiple aspects of your resin printer’s performance in a single, comprehensive print. Below are detailed descriptions of each feature and how to use them effectively:
1. Attunement Block
Purpose: The Attunement Block is a multifunctional component designed to test both dimensional accuracy and Z-axis calibration, ensuring your printer handles overexposure and underexposure effectively.
Details:
- Width Measurement: The Attunement Block is precisely 6mm wide. After printing, use calipers to measure this width. If the measurement is off, it suggests that your exposure settings need to be adjusted to achieve proper dimensional accuracy.
- Height Measurement: The block is also 6mm tall, measured from the bottom of the raft to the top of the block. This checks for Z-axis compression, ensuring your printer’s layers are not being compressed and that the print’s height is accurate.
- Sword Test Integration: The Attunement Block includes two fail holes designed to work in conjunction with the Sword of Truth. The sword should not fit into these holes. If the sword does fit, it indicates that the printer’s exposure settings are not accurate, and adjustments are needed to avoid overexposure.
2. Ale of Accuracy
Purpose: The Ale of Accuracy tests the dimensional accuracy of your print, specifically focusing on how well the resin cures to the correct size.
Details: The Ale is a cylindrical component that should fit perfectly into the Mug, another feature of the Cones of Calibration. The fit of the Ale into the Mug is a direct reflection of your printer’s exposure settings. If the Ale is too large to fit, your exposure time is too high, leading to over-curing and oversized prints. Conversely, if the Ale is too loose in the Mug, your exposure time is too low, leading to under-curing and smaller prints.
Adjustments: Make adjustments to your exposure time in small increments, typically 0.1 to 0.3 seconds, and reprint until the Ale fits perfectly. This process ensures that your printer is set to produce dimensionally accurate prints.
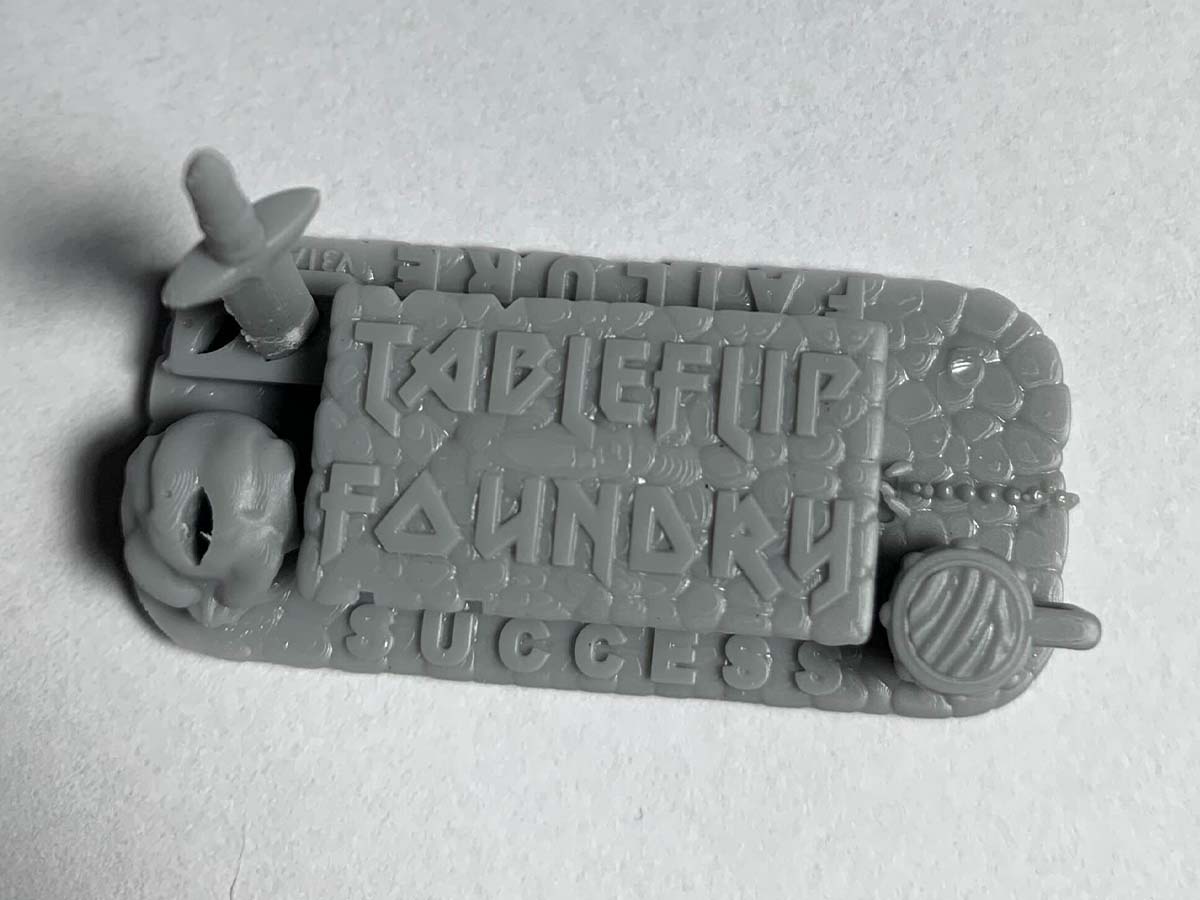
3. Sword of Truth
Purpose: The Sword of Truth is designed to test the precision of your printer’s exposure settings by assessing how well it can print small, detailed parts.
Details: The Sword of Truth is a finely detailed component that should be carefully broken free from its supports. The sword should then be tested by fitting it into the Monster Skull, another feature of the Cones of Calibration.
Fit Test: The sword should fit perfectly into the Monster Skull but not into the fail holes of the Attunement Block. If the sword fits into the fail holes, this indicates that your exposure settings are too low, and the print is underexposed. If the sword does not fit into the Monster Skull, your exposure settings may be too high, resulting in over-curing and loss of detail.
Precision Testing: This test is critical for ensuring that your printer can handle small, precise details without over or underexposing the resin.
4. Visual Gap Test
Purpose: The Gap Test evaluates your resin’s ability to print fine details, particularly in areas with small gaps or thin walls.
Details: This feature consists of a series of increasingly smaller gaps that challenge the precision of your resin printer. After calibration, use this test to visualize how well your resin can reproduce fine details. This is particularly useful for prints that require high precision, such as miniatures or intricate models.
5. Cones of Calibration
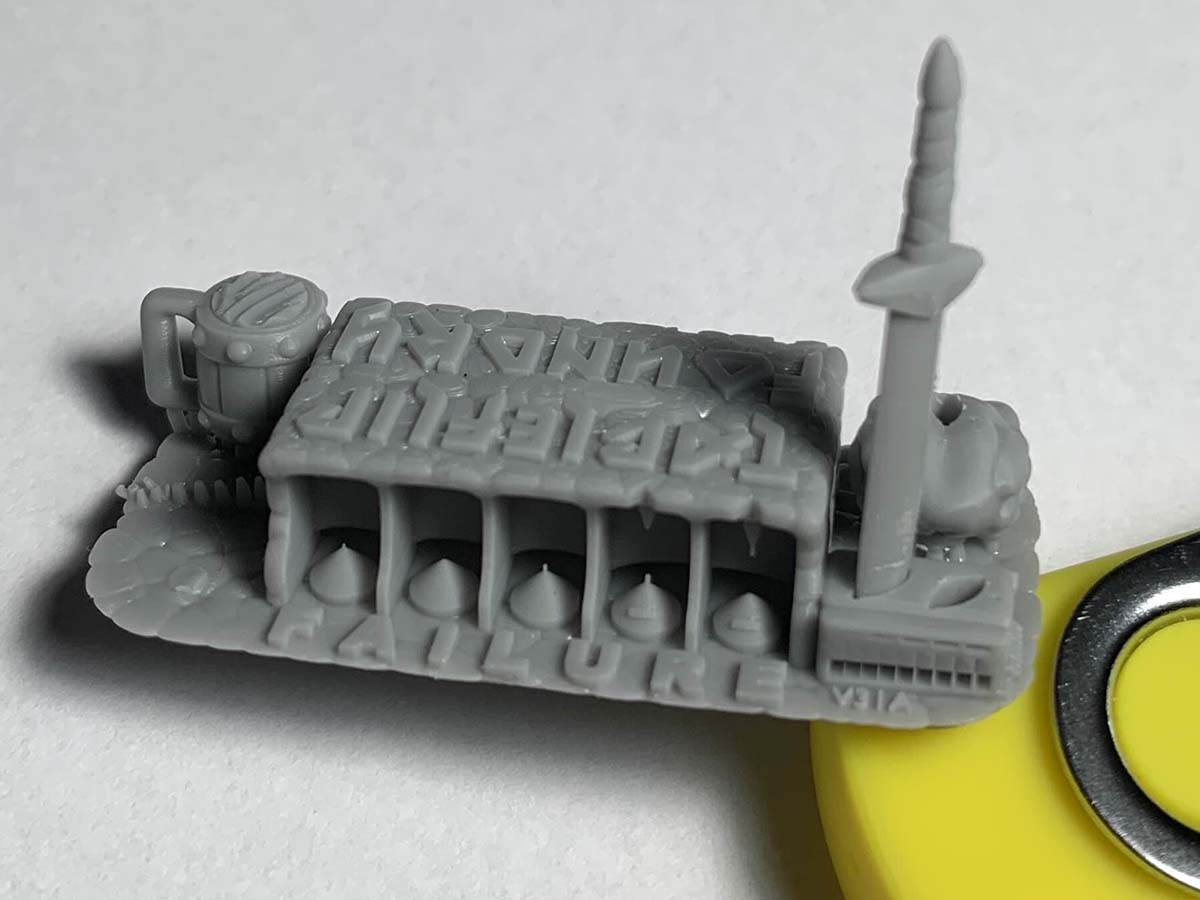
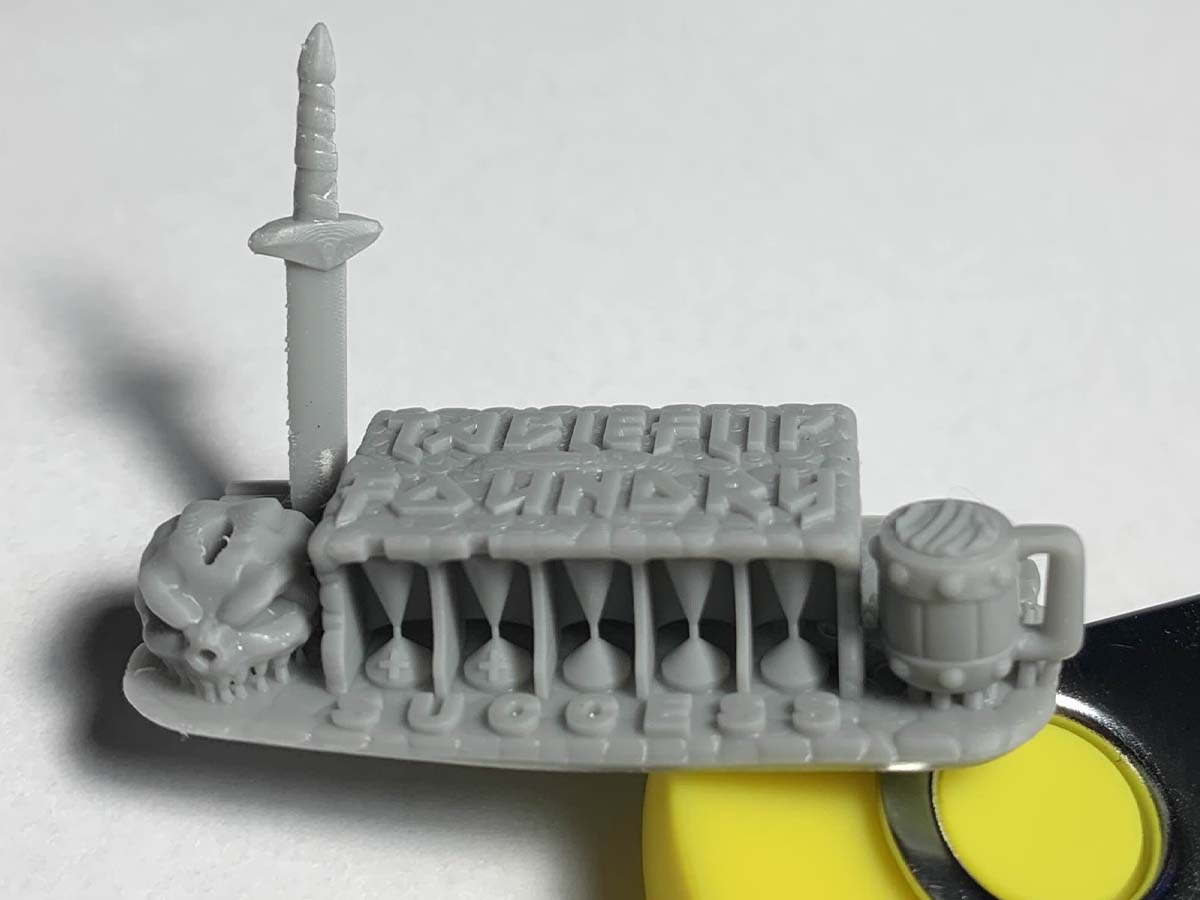
Purpose: The Cones of Calibration are designed to test the overall strength and reliability of your printer’s settings. This is the final and most comprehensive test provided by the Cones of Calibration V3.
Details: The Cones are divided into a success side and a failure side. The success cones should print fully, while the failure cones are designed to collapse. This difference in outcomes helps you assess whether your printer’s exposure settings are correctly balanced.
Index Cones: Pay special attention to the Index Cones, marked with + and – symbols. These cones are duplicated on both sides to ensure the reliability of the test. If the Index Cones on the success side print fully and those on the failure side collapse as intended, your calibration is successful. This redundancy ensures that even if a random error occurs during printing, the test remains valid.
Step-by-Step Calibration Process
- Print the Cones of Calibration V3 Part: Begin by downloading the Cones of Calibration V3 model and printing it using your resin printer. Ensure your printer is clean and properly set up before starting the print.
- Check the Attunement Block: Once the print is complete, use calipers to measure the width of the Attunement Block. It should be exactly 6mm. Next, measure the height from the bottom of the raft to the top of the block, which should also be 6mm. If either measurement is off, adjust your exposure settings or Z-axis calibration as necessary and reprint.
- Test the Ale of Accuracy: Remove the Ale and Mug from the print and attempt to fit the Ale into the Mug. If it fits perfectly, your dimensional accuracy is good. If it’s too tight or too loose, adjust your exposure time in small increments and reprint until the fit is correct.
- Assess the Sword of Truth: Carefully break the sword free from its supports. Test the sword by fitting it into the Monster Skull. It should fit perfectly into the skull but should not fit into the fail holes of the Attunement Block. If the sword does not fit correctly, adjust your exposure settings and reprint.
- Measure the Fail Holes Block: Use calipers to measure the width of the Fail Holes Block. It should be 6mm wide. If the measurement is incorrect, adjust your exposure settings and reprint. Additionally, check the fit of the Sword of Truth with the fail holes.
- Examine the Cones: Finally, examine the Cones of Calibration. Ensure that all cones on the success side have printed correctly. Pay particular attention to the Index Cones to confirm that your calibration is accurate.
Final Validation with Puck the Adventurer
Conclusion

Image Gallery