Silicone Mat

Silicone Mat

Silicone Mat

Keeping Your Workspace Clean with a Silicone Mat

3D resin printing can be a messy process. With resin getting onto various tools and surfaces, maintaining a clean workspace can become a tedious task. However, there is a simple yet effective tool that can help manage this mess and keep your workspace clean: the silicone mat.

Why Use a Silicone Mat?

In a 3D resin printing setup, it’s common to use various tools like spatulas, tweezers, and print removal tools. Resin can get on these tools, and constantly cleaning them after each use can be time-consuming and frustrating. A silicone mat offers a practical solution to this problem. Here are the key benefits: Non-Stick Surface: Resin will not stick to the silicone mat, making it easy to manage and clean. Easy Cleanup: You can clean the mat with isopropyl alcohol, or use a UV light to cure the resin on the mat. Once cured, the resin can be peeled off in hardened bits and disposed of properly. Dedicated Workstation: Using a silicone mat as a designated dirty workstation helps keep the rest of your workspace sterile and free from resin contamination.

Silicone Mat Photo

How to Use a Silicone Mat

Implementing a silicone mat into your workflow is straightforward:

  • Place the Mat: Position the silicone mat in your workspace where you typically handle resin-covered tools and prints.
  • Use as a Workstation: Use the mat as a surface to set down resin-covered tools, prints, and other items. This confines the mess to one area, making cleanup easier.
  • Clean or Cure and Peel: After your printing session, you can either wipe the mat clean with isopropyl alcohol or use a UV light to cure the resin. Once cured, the resin can be easily peeled off and disposed of, leaving the mat clean and ready for the next use.
Recommended Product

We’ve identified a high-quality silicone mat available on Amazon that fits these criteria. This mat is affordable, durable, and an excellent addition to your 3D resin printing toolkit. It offers a significant improvement in maintaining a clean workspace.
Reusable Filter

Reusable Filter

Reusable Filter

Efficient Resin Filtering with Reusable Filters

In the world of 3D resin printing, managing resin waste and ensuring a clean printing environment are critical for maintaining the quality and longevity of both prints and equipment. One tool that has proven to be incredibly useful for these purposes is the reusable filter.

Why Use a Reusable Filter?

When you order resin, it often comes with paper filters meant for funneling the resin back into the bottle. While these paper filters can be effective, they come with a few drawbacks. Firstly, they create waste that needs to be disposed of properly. Additionally, using paper filters can be quite slow and cumbersome as they don’t filter the resin fast enough, requiring you to pour slowly and wait for the resin to pass through. A reusable filter offers a more efficient and eco-friendly solution.

Here are some key benefits:

  • Reduces Waste: Unlike disposable paper filters, a reusable filter can be cleaned and used multiple times, significantly reducing the amount of waste generated.
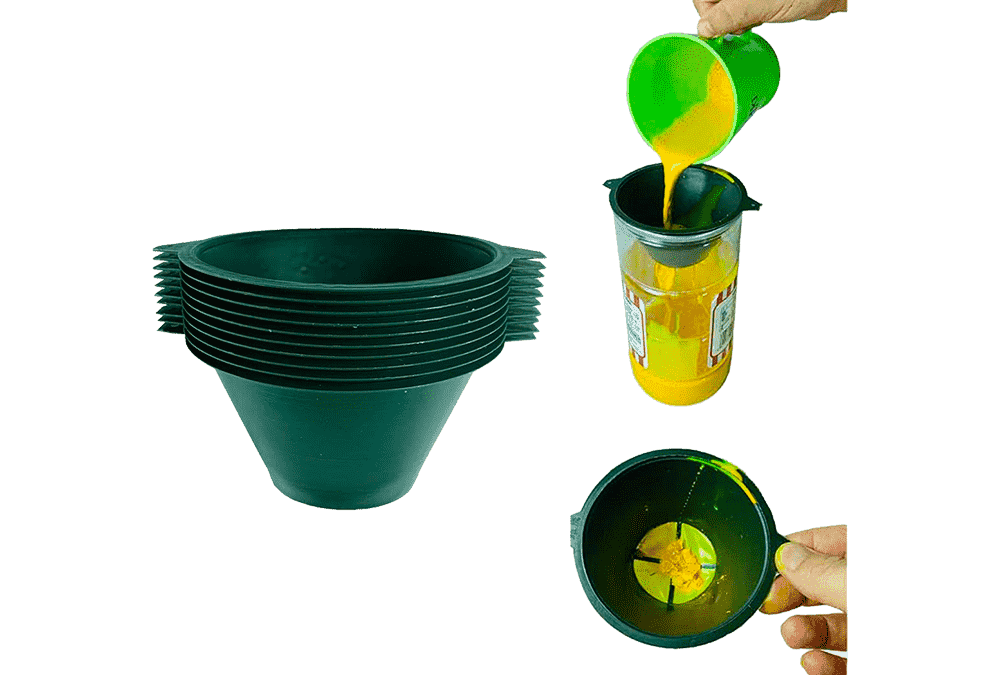
  • Increases Efficiency: Reusable filters are rigid and provide ample filtering space, allowing resin to pass through more quickly compared to paper filters. This means you can pour resin back into the bottle without the tedious waiting time.
  • Ease of Use: Reusable filters are easier to handle as they fit perfectly into the bottles without flopping around. This stability helps to minimize spillage and makes the process of filtering resin more straightforward.
Reusable Filters Photo

How to Use a Reusable Filter

To maximize the benefits of a reusable filter, follow these simple steps:

  • Prepare the Bottle: Set aside an empty resin bottle and cut the top off. This modified bottle will serve as a stable base for the reusable filter. You can reuse this bottle over and over again, further reducing waste.
  • Insert the Filter: Place the reusable filter into the prepared bottle. The rigidity of the filter ensures it stays in place, making the pouring process easier.
  • Pour the Resin: Pour the resin into the filter. Thanks to the large filtering area, the resin will pass through quickly and efficiently, allowing you to refill your resin bottles without much waiting.
  • Reuse and Clean: After use, clean the filter thoroughly so it can be reused for future resin filtering tasks. This not only saves money but also reduces environmental impact.

Recommended Product

We’ve identified a high-quality reusable filter that fits these criteria. Available on Amazon, this filter comes in a pack, providing multiple filters for less than $10. These filters are designed to provide a hassle-free resin filtering experience with their robust and efficient design. They are an excellent addition to your 3D resin printing toolkit, offering convenience and reliability. By incorporating reusable filters and a modified bottle into your 3D resin printing workflow, you can enjoy a cleaner, more efficient process with less waste and fewer headaches. This small investment can lead to significant improvements in your overall printing experience.
Silicone Spatula

Silicone Spatula

Silicone Spatula

Essential Tool for 3D Resin Printing: The Silicone Spatula

When it comes to 3D resin printing, having the right tools can make all the difference in maintaining the quality and longevity of your prints and equipment. One of the most underrated yet incredibly useful tools is the silicone spatula, designed specifically for mixing resin and cleaning your vat.

Why You Need a Silicone Spatula

Many beginners in the 3D resin printing hobby mistakenly believe they need to empty and thoroughly clean their vat every time they change their resin. This often involves wiping the FEP (Fluorinated Ethylene Propylene) film with paper towels or microfiber cloths, which can be tedious and risky. Using the wrong materials can cause micro-scratches on the FEP, which negatively impacts print quality. A silicone spatula eliminates the need for this cumbersome process. It provides a simple, effective, and safe method for maintaining your vat without causing damage.
Silicone Spatula Photo

Features to Look For

Not all silicone spatulas are created equal.
For 3D resin printing, you should look for the following features:

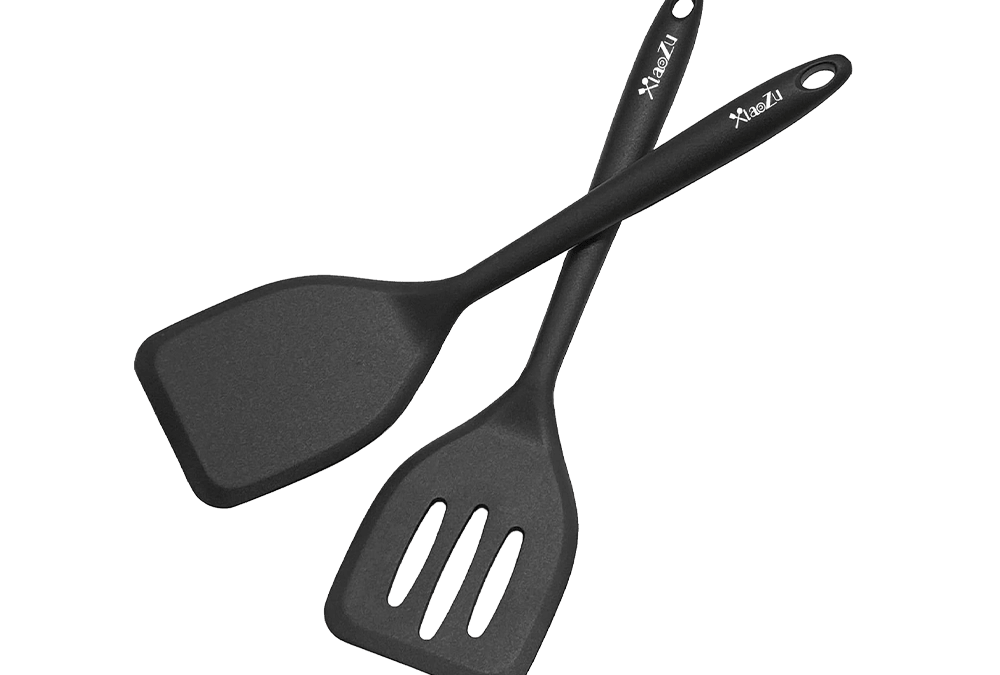
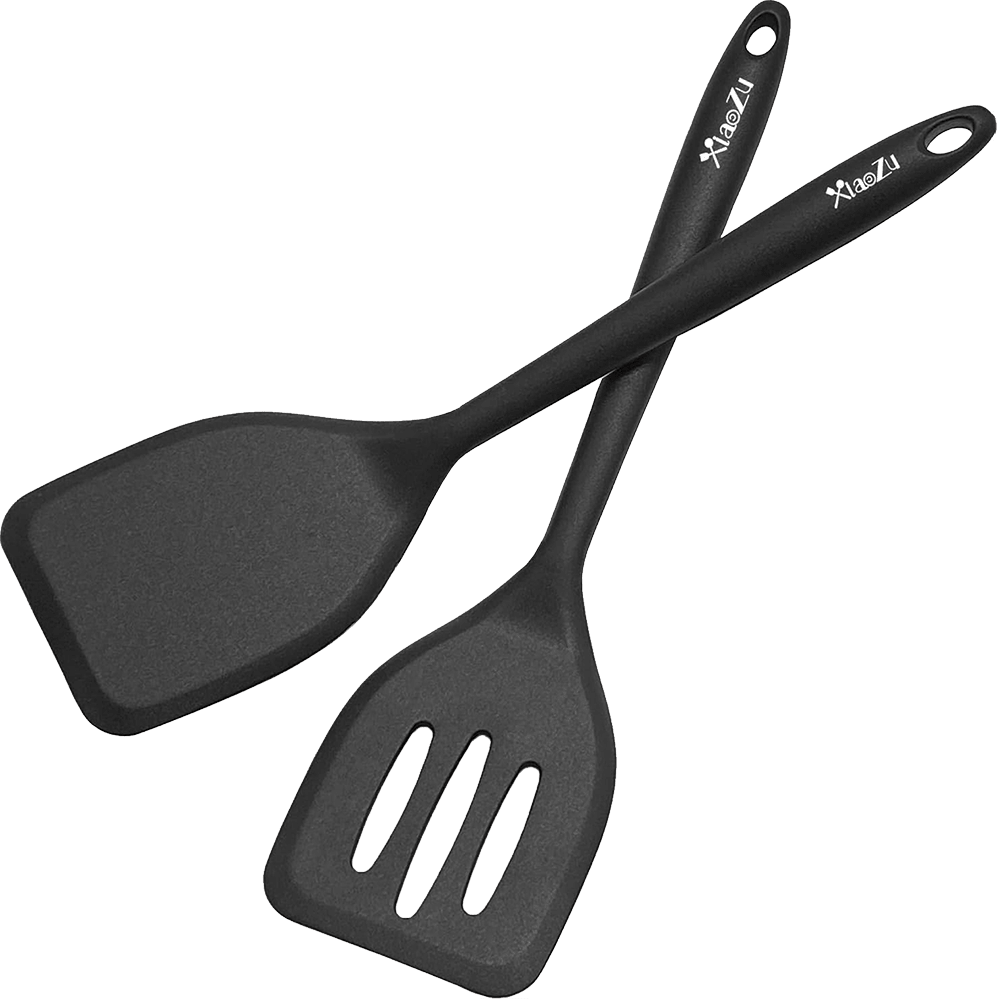
  • Smooth, Flexible Silicone: The spatula should be made from smooth and flexible silicone that won’t scratch or damage the FEP film.
  • Flat Bottom: A spatula with a flat bottom ensures maximum surface area contact, allowing you to push resin across the vat evenly and smoothly.
  • Holes in the Spatula: Holes in the spatula create turbulence when mixing resin, making the process more efficient. The resin flows through the holes, speeding up the mixing process significantly.

How to Use the Silicone Spatula

Using a silicone spatula in your 3D resin printing workflow is straightforward:

  • Mixing Resin: Before each print, use the spatula to mix the resin in the vat. The holes in the spatula help create turbulence, ensuring the resin is thoroughly mixed quickly.
  • Cleaning the Vat: After a print, use the spatula to feel the bottom of the FEP. This helps you detect any particles or remnants of prints that might be stuck, ensuring the vat is clean for the next print.
  • Maintaining the FEP: Regular use of the silicone spatula can help maintain the FEP in good condition, reducing the need for frequent replacements.

Recommended Product

We’ve identified an excellent, inexpensive silicone spatula that fits these criteria. Available on Amazon and other retailers like Walmart, this spatula is almost identical to the one we use in our lab. It’s a handy tool that you will find yourself using constantly. For less than $10, it’s a small investment that can significantly enhance your 3D resin printing experience.